Celeron J4125搭載産業用ミニPCへ鋭意構築中の、VMware ESXi 8.0ホームラボ仮想環境にあると便利な 軽量 デスクトップ Linux を探してみるシリーズ、今回はDebianベースの bunsenlabs lithium を試してみました。
bunsenlabs lithium
bunsenlabs Linux lithiumは、比較的古いハードウェアでもサクサク動作するDebianベースの軽量デスクトップLinuxです。

公式サイトのダウンロードページから、64bit版 lithium 3のISOをダウンロードします。
|
1 |
1,309,868,032 byte lithium-3-amd64.hybrid.iso |
仮想マシンハードウェア構成
今回、VMware ESXi 8.0ハイパーバイザ上に作成する仮想マシンのハードウェア構成は公式サイトの推奨通り、HDD20GB、RAM2GBとしています。
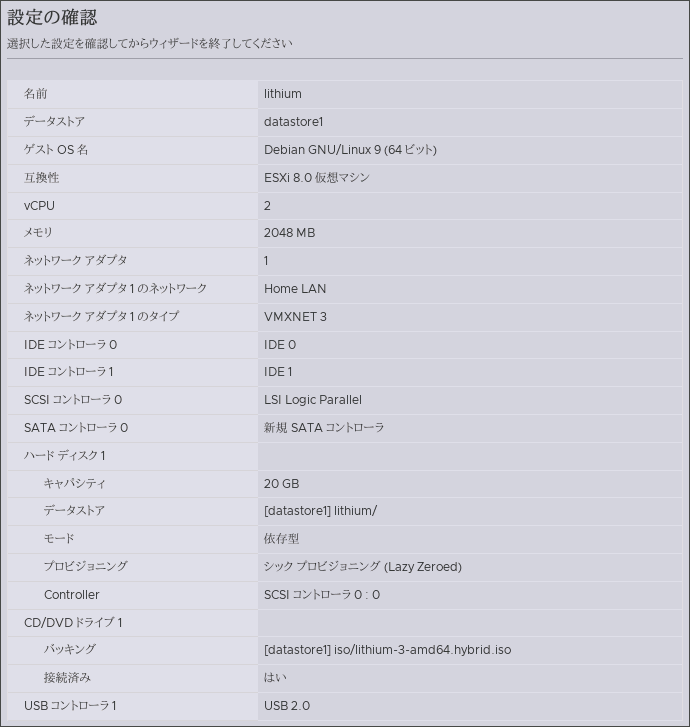
図01.仮想マシンハードウェア構成
本当は仮想ディスクをシン・プロビジョニングにしたかったのですが、うっかり忘れてデフォルトのシック構成のまま進めています。
lithiumのインストール
ダウンロードしたISOイメージを仮想ドライブにセットした上で起動すると、インストーラが立ち上がるので、 Install を選択。
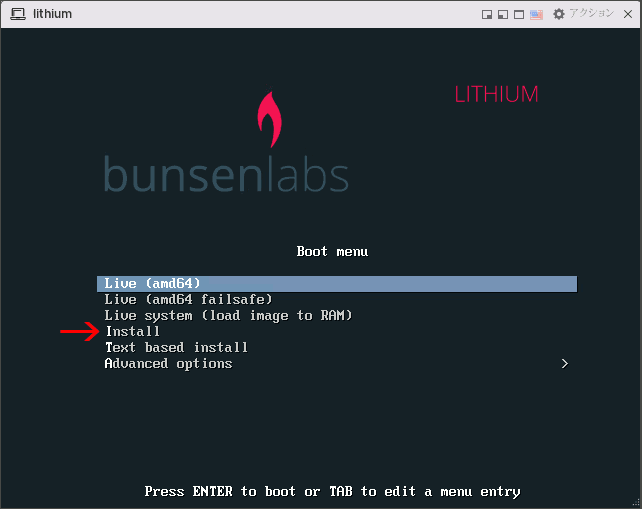
図02.ISOインストーラブートメニュー
インストーラで表示する言語とキーボードレイアウトを選択。
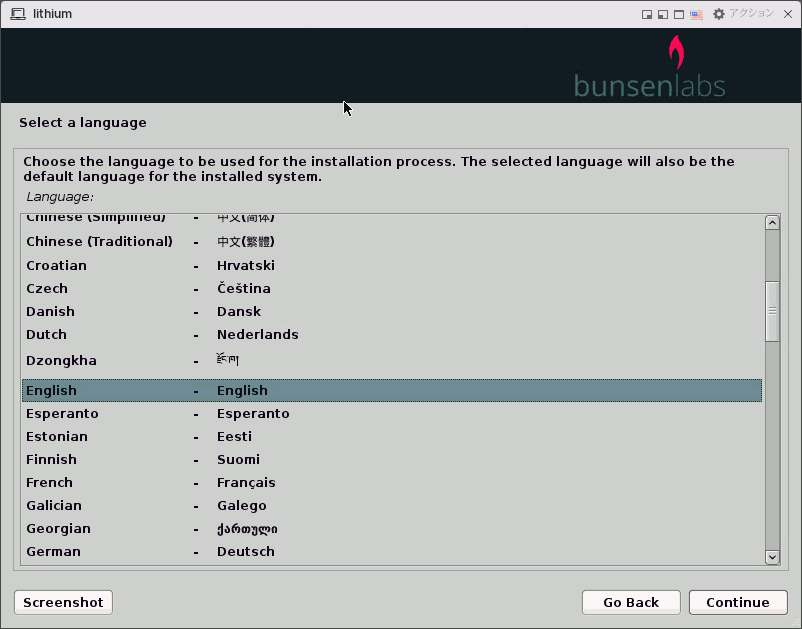
図03.言語の選択
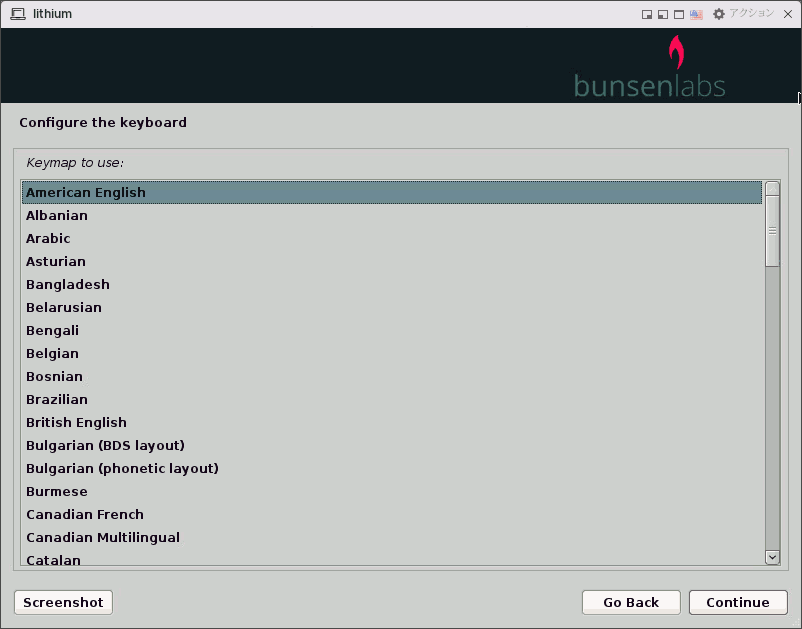
図04.キーボードレイアウトの選択
ホスト名を決め、ユーザ名とパスワードを設定します。
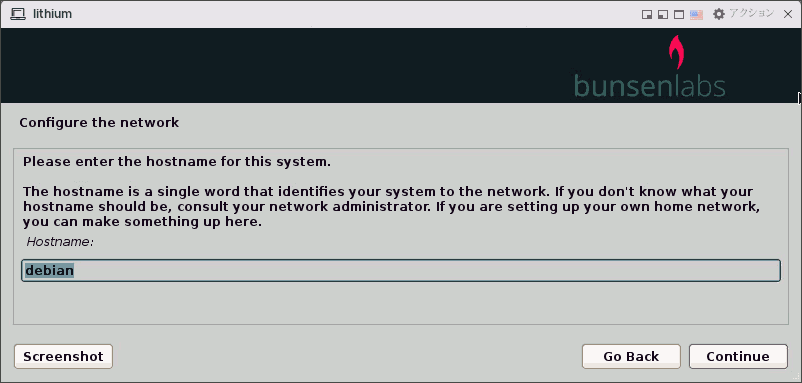
図05.ホスト名を設定

図06.ユーザ名を設定
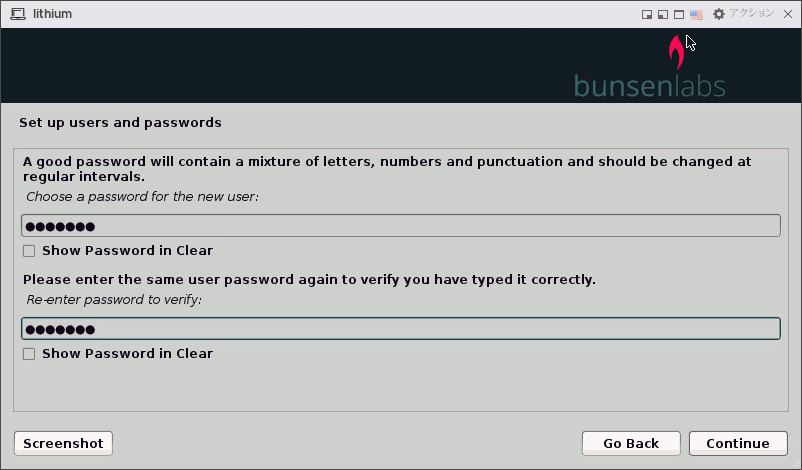
図07.パスワードの設定
タイムゾーンは大まかなエリア指定のみでした(!?)
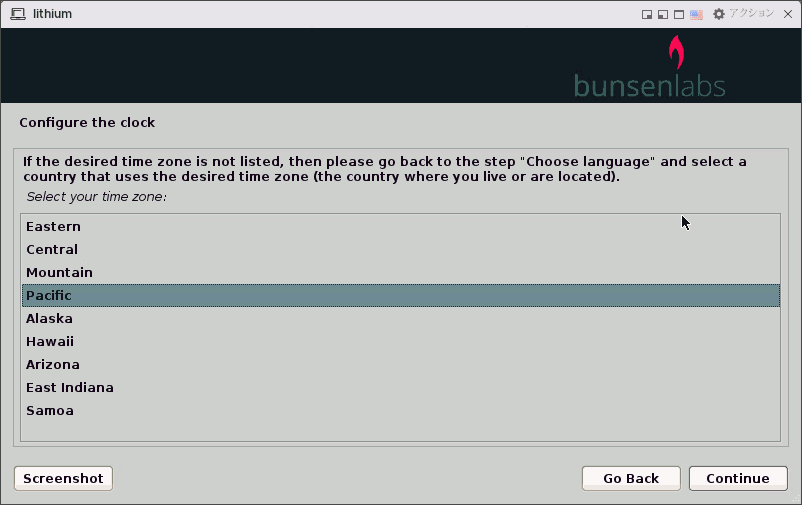
図08.タイムゾーンの設定
ちなみにインストール後も時刻設定の項目が見当たらず、結局ターミナルで設定しました。
|
1 2 3 4 5 6 7 8 9 |
$ sudo timedatectl set-timezone Asia/Hong_Kong $ timedatectl Local time: Tue 2022-12-06 16:54:54 HKT Universal time: Tue 2022-12-06 08:54:54 UTC RTC time: Tue 2022-12-06 08:54:53 Time zone: Asia/Hong_Kong (HKT, +0800) System clock synchronized: yes NTP service: inactive RTC in local TZ: no |
インストール先パーティショニングの指定方法はおまかせで非LVMにしました。

図09.パーティショニング方法の選択
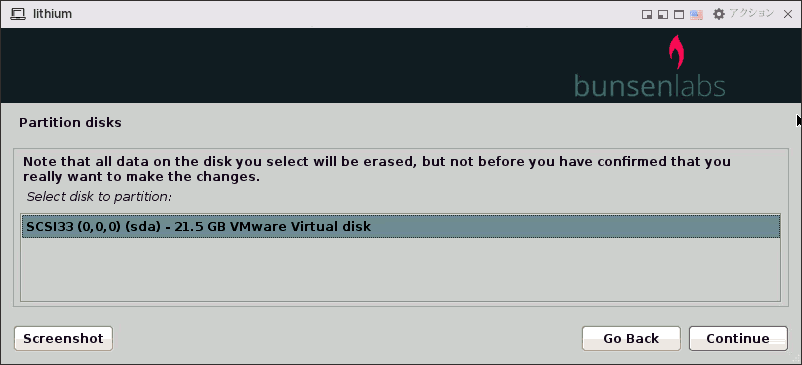
図10.対象ディスクの選択
特に何も変更せず、提示されるままにパーティションを設定します。
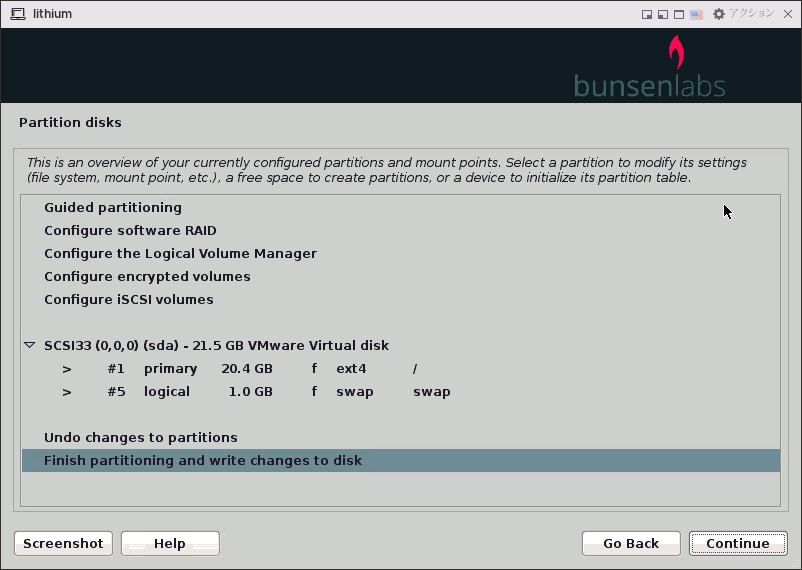
図11.パーティションレイアウト

図12.パーティション書き込み
最後にGRUBブートローダを入れればインストーラは完走です。
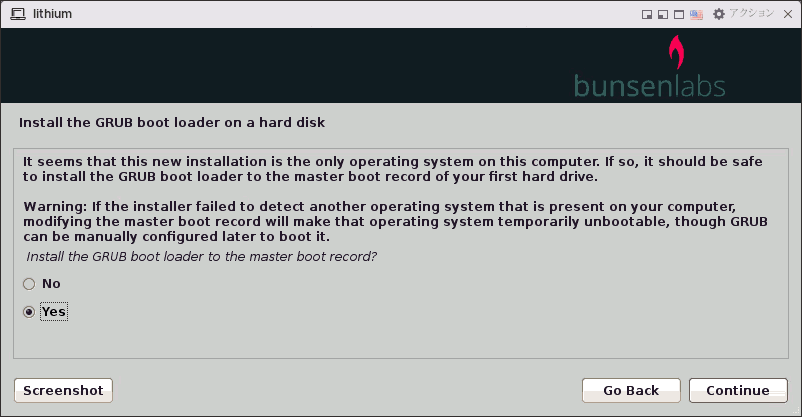
図13.GRUBインストール確認
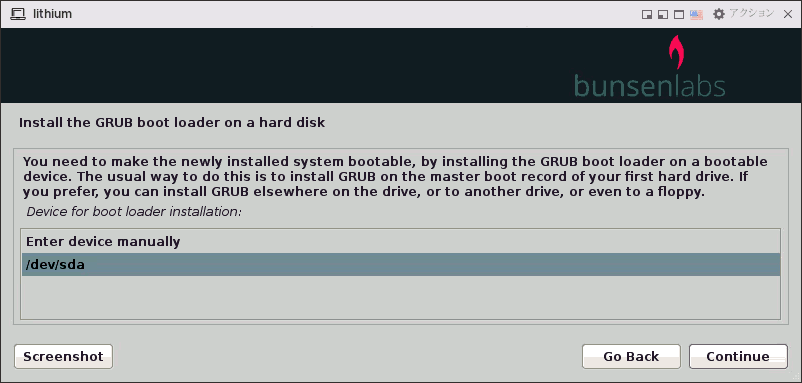
図14.GRUBインストール先を確認
初使用感
vSphere Client上のGUIコンソールからログインします。
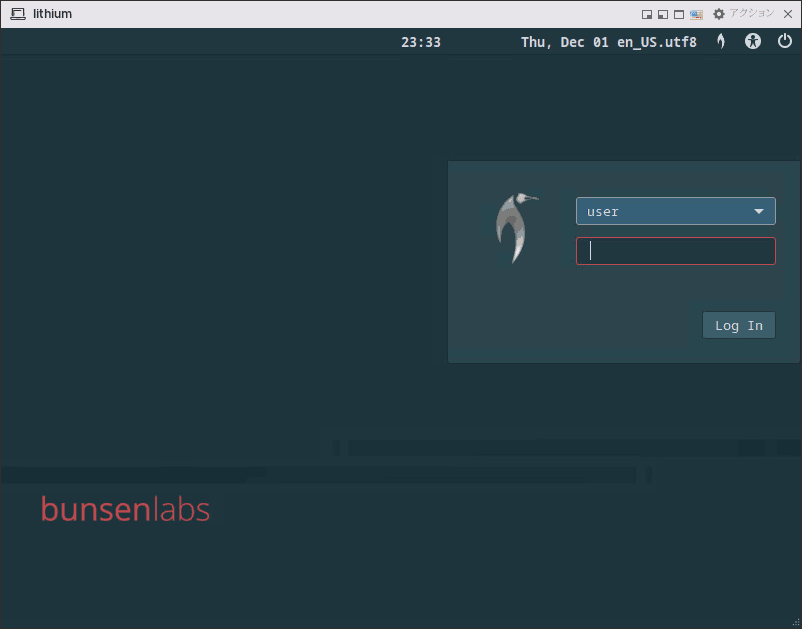
図15.ログイン画面
ログイン後、まだ何もアプリを使用していないアイドル時のリソース消費を確認してみると、RAMは500MB程度、ストレージは3.3GB程度しか使われていませんでした。
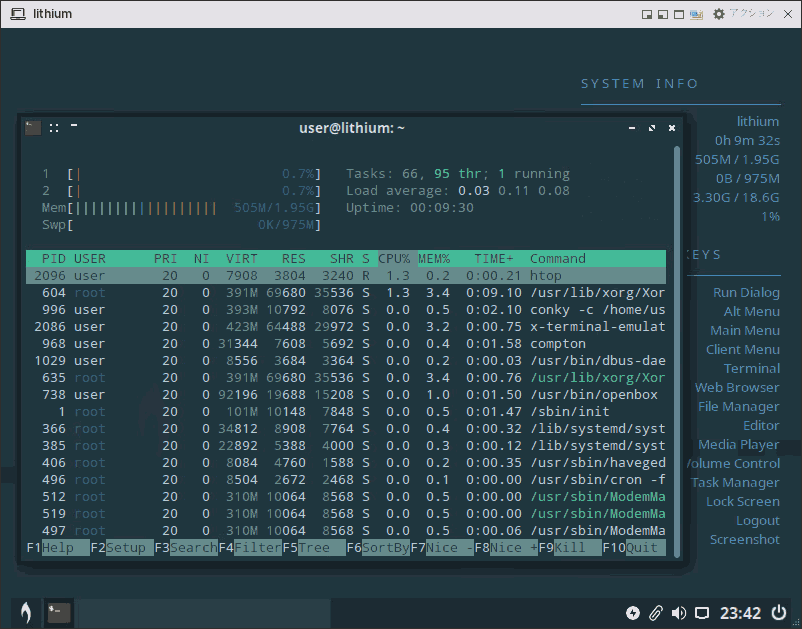
図16.ログイン後のリソース消費量
さらにバージョン情報を確認すると、Debian 10 busterベースのKernel4.19なので、ひと世代前のシステム。
|
1 2 3 4 5 6 7 8 |
$ uname -a Linux lithium 4.19.0-17-amd64 #1 SMP Debian 4.19.194-3 (2021-07-18) x86_64 GNU/Linux $ lsb_release -a No LSB modules are available. Distributor ID: Debian Description: Debian GNU/Linux 10 (buster) Release: 10 Codename: buster |
リソースはまだまだ余裕がありました。仮想環境内の検証用に使う程度であればストレージ10GB、RAM1GBでも良さそう。
|
1 2 3 4 5 6 7 8 9 10 11 12 13 14 |
$ df -h Filesystem Size Used Avail Use% Mounted on udev 974M 0 974M 0% /dev tmpfs 200M 8.5M 191M 5% /run /dev/sda1 19G 3.8G 14G 22% / tmpfs 998M 0 998M 0% /dev/shm tmpfs 5.0M 0 5.0M 0% /run/lock tmpfs 998M 0 998M 0% /sys/fs/cgroup tmpfs 200M 8.0K 200M 1% /run/user/1000 tmpfs 200M 4.0K 200M 1% /run/user/108 $ free -h total used free shared buff/cache available Mem: 1.9Gi 484Mi 1.1Gi 6.0Mi 423Mi 1.3Gi Swap: 974Mi 9.0Mi 965Mi |
ウェブブラウザはSnap版のFirefox 78が入っていました。
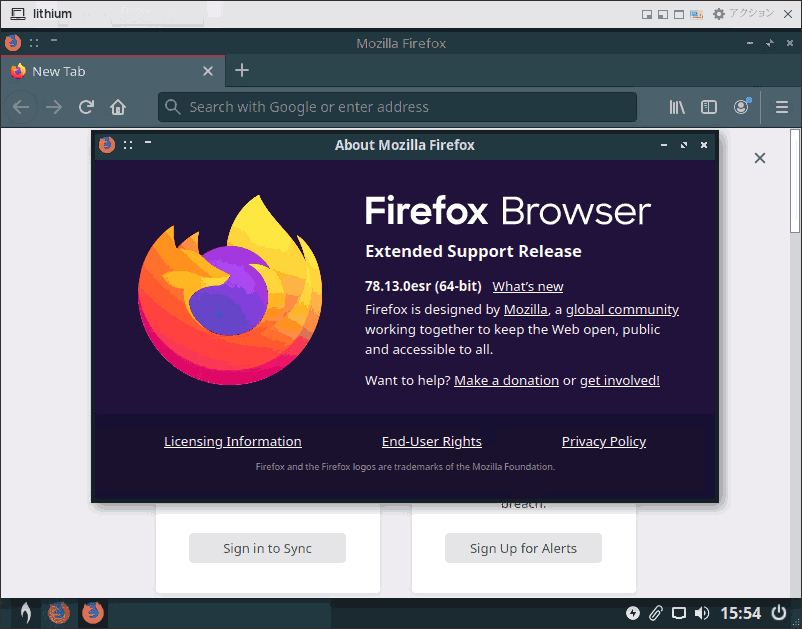
図17.Snap版Firefox 78
openssh-sevrerとTigerVNCのインストール
軽量Linuxデスクトップ仮想マシンへのアクセスは、CLIはssh、GUIはVNCを想定しているので、必要なパッケージをインストールしてこれらのサービスをセットアップします。
sshサーバは、 openssh-server パッケージをインストールするだけ。
|
1 2 3 4 5 6 7 8 9 10 11 12 13 14 15 16 17 18 19 |
$ sudo apt install openssh-server $ systemctl status ssh ● ssh.service - OpenBSD Secure Shell server Loaded: loaded (/lib/systemd/system/ssh.service; enabled; vendor preset: enabled) Active: active (running) since Tue 2022-12-06 16:49:31 HKT; 8min ago Docs: man:sshd(8) man:sshd_config(5) Main PID: 20276 (sshd) Tasks: 1 (limit: 2337) Memory: 4.2M CGroup: /system.slice/ssh.service └─20276 /usr/sbin/sshd -D Dec 06 16:49:31 lithium systemd[1]: Starting OpenBSD Secure Shell server... Dec 06 16:49:31 lithium sshd[20276]: Server listening on 0.0.0.0 port 22. Dec 06 16:49:31 lithium sshd[20276]: Server listening on :: port 22. Dec 06 16:49:31 lithium systemd[1]: Started OpenBSD Secure Shell server. Dec 06 16:54:03 lithium sshd[20739]: Accepted password for user from 10.96.28.69 port 50650 ssh2 Dec 06 16:54:03 lithium sshd[20739]: pam_unix(sshd:session): session opened for user user by (uid=0) |
対してVNCサービスの構築はWindows環境にUltraVNCを導入したことがある程度で、LinuxでCLIベースで設定するのは今回が初めて。
まずは定番のTigerVNC Serverを、 apt パッケージマネージャからインストール。
|
1 2 3 4 5 6 7 8 9 10 11 12 13 14 15 16 17 18 19 20 21 22 23 24 25 26 27 28 29 30 31 |
$ sudo apt install tigervnc-standalone-server The following additional packages will be installed: libfile-readbackwards-perl tigervnc-common The following NEW packages will be installed: libfile-readbackwards-perl tigervnc-common tigervnc-standalone-server 0 upgraded, 3 newly installed, 0 to remove and 0 not upgraded. Need to get 1,105 kB of archives. After this operation, 3,021 kB of additional disk space will be used. Do you want to continue? [Y/n] y Get:1 https://deb.debian.org/debian buster/main amd64 libfile-readbackwards-perl all 1.05-2 [12.2 kB] Get:2 https://deb.debian.org/debian buster/main amd64 tigervnc-common amd64 1.9.0+dfsg-3+deb10u3 [70.0 kB] Get:3 https://deb.debian.org/debian buster/main amd64 tigervnc-standalone-server amd64 1.9.0+dfsg-3+deb10u3 [1,023 kB] Fetched 1,105 kB in 2s (663 kB/s) Selecting previously unselected package libfile-readbackwards-perl. (Reading database ... 154327 files and directories currently installed.) Preparing to unpack .../libfile-readbackwards-perl_1.05-2_all.deb ... Unpacking libfile-readbackwards-perl (1.05-2) ... Selecting previously unselected package tigervnc-common. Preparing to unpack .../tigervnc-common_1.9.0+dfsg-3+deb10u3_amd64.deb ... Unpacking tigervnc-common (1.9.0+dfsg-3+deb10u3) ... Selecting previously unselected package tigervnc-standalone-server. Preparing to unpack .../tigervnc-standalone-server_1.9.0+dfsg-3+deb10u3_amd64.deb ... Unpacking tigervnc-standalone-server (1.9.0+dfsg-3+deb10u3) ... Setting up libfile-readbackwards-perl (1.05-2) ... Setting up tigervnc-common (1.9.0+dfsg-3+deb10u3) ... update-alternatives: using /usr/bin/tigervncconfig to provide /usr/bin/vncconfig (vncconfig) in auto mode update-alternatives: using /usr/bin/tigervncpasswd to provide /usr/bin/vncpasswd (vncpasswd) in auto mode Setting up tigervnc-standalone-server (1.9.0+dfsg-3+deb10u3) ... update-alternatives: using /usr/bin/tigervncserver to provide /usr/bin/vncserver (vncserver) in auto mode update-alternatives: using /usr/bin/Xtigervnc to provide /usr/bin/Xvnc (Xvnc) in auto mode Processing triggers for man-db (2.8.5-2) ... |
OSのインストール時に作成し、現在ログインしているユーザでVNCを利用したいので、そのままVNCのパスワードを生成します。
|
1 2 3 4 |
$ vncpasswd Password: Verify: Would you like to enter a view-only password (y/n)? n |
VNCサーバを起動してみます。
|
1 2 3 4 5 6 7 8 9 10 11 12 13 14 |
$ vncserver :1 -geometry 1024x768 -localhost no New 'lithium:1 (user)' desktop at :1 on machine lithium Starting applications specified in /etc/X11/Xvnc-session Log file is /home/user/.vnc/lithium:1.log Use xtigervncviewer -SecurityTypes VncAuth,TLSVnc -passwd /home/user/.vnc/passwd lithium:1 to connect to the VNC server. $ vncserver -list TigerVNC server sessions: X DISPLAY # RFB PORT # PROCESS ID :1 5901 659 $ ps -ax | grep [v]nc 659 ? Sl 3:37 /usr/bin/Xtigervnc :1 -desktop lithium:1 (user) -auth /home/user/.Xauthority -geometry 1024x768 -depth 24 -rfbwait 30000 -rfbauth /home/user/.vnc/passwd -rfbport 5901 -pn -SecurityTypes VncAuth,TLSVnc 675 ? S 0:00 /usr/bin/perl /usr/bin/vncserver :1 -geometry 1024x768 -localhost no |
別のPCから接続してみます(VNCクライアントにはRemminaを使用)。

図18.RemminaからVNC接続
VNCサーバの終了は以下の要領で。
|
1 2 3 4 |
$ vncserver -kill :1 Killing Xtigervnc process ID 659... success! $ ps -ax | grep [v]nc $ |
ここまで順調でしたが問題はここ、VNCサーバをシステム起動時に自動起動するようにサービス化するところ。
bunsenlab lithiumのベースであるDebianでは、 ~/.vnc/xstartup がそもそもないそうで、こちらの記事を参考に作業を進めます(鳴謝!)。

まず ~/.vncrc と言うファイルを作ってその中身を以下のように記述。
|
1 |
$vncStartup="$ENV{HOME}/.vnc/xstartup" |
その上で、 ~/.vnc/xstartup を新たに実行権限付きで作成して、中身は次のようにしました(この内容についてはこちらを参考にしました。)。
|
1 2 3 |
#!/bin/sh unset SESSION_MANAGER exec /etc/X11/xinit/xinitrc |
そしてようやくsystemdに必要なサービスを定義します。
|
1 2 3 4 5 6 7 8 9 10 11 12 13 14 15 16 17 |
[Unit] Description=VNC Remote Desktop Service After=syslog.target network.target [Service] #Type=forking Type=simple User=user WorkingDirectory=/home/user PIDFile=/home/user/.vnc/%H:%i.pid ExecStartPre=-/usr/bin/vncserver -kill :%i > /dev/null 2>&1 ExecStart=/usr/bin/vncserver :%i -geometry 1024x768 -localhost no ExecStop=/usr/bin/vncserver -kill :%i [Install] WantedBy=multi-user.target |
ここまでの ~/ 以下のVNC関連ファイル構成はこのようになっています。
|
1 2 3 4 5 6 7 |
~/ ├── .vncrc └── .vnc ├── lithium:1.log ├── lithium:1.pid ├── passwd └── xstartup |
作成したVNCサービスを登録、起動してみます。
|
1 2 3 4 5 6 7 8 9 10 11 12 13 14 15 16 17 18 19 20 21 22 23 24 25 26 27 28 29 30 31 32 33 34 35 36 37 38 |
$ sudo systemctl enable vncserver@1 Created symlink /etc/systemd/system/multi-user.target.wants/vncserver@1.service → /etc/systemd/system/vncserver@.service. $ systemctl status vncserver@1.service ● vncserver@1.service - VNC Remote Desktop Service Loaded: loaded (/etc/systemd/system/vncserver@.service; enabled; vendor preset: enabled) Active: active (running) since Thu 2022-12-08 09:35:25 HKT; 1h 38min ago Process: 574 ExecStartPre=/usr/bin/vncserver -kill :1 > /dev/null 2>&1 (code=exited, status=0/SUCCESS) Main PID: 684 (Xtigervnc) Tasks: 61 (limit: 2336) Memory: 346.9M CGroup: /system.slice/system-vncserver.slice/vncserver@1.service ├─684 /usr/bin/Xtigervnc :1 -desktop lithium:1 (user) -auth /home/user/.Xauthority -geometry 1024x768 -depth 24 -rfbwait 3 ├─693 /usr/bin/perl /usr/bin/vncserver :1 -geometry 1024x768 -localhost no ├─694 /usr/bin/openbox --config-file /home/user/.config/openbox/bl-rc.xml --startup /usr/lib/bunsen/configs/bunsen-autosta ├─718 /usr/bin/dbus-launch --exit-with-session --sh-syntax ├─719 /usr/bin/dbus-daemon --syslog --fork --print-pid 5 --print-address 7 --session ├─727 /usr/bin/ssh-agent x-session-manager ├─730 gnome-keyring-daemon --start --components=pkcs11,secrets ├─758 /usr/bin/xbindkeys -f /home/user/.xbindkeysrc ├─766 xcape -e Super_L Super_L space ├─780 /usr/lib/at-spi2-core/at-spi-bus-launcher ├─787 /usr/bin/dbus-daemon --config-file=/usr/share/defaults/at-spi2/accessibility.conf --nofork --print-address 3 ├─795 /usr/lib/at-spi2-core/at-spi2-registryd --use-gnome-session ├─805 compton ├─821 pnmixer ├─822 clipit ├─829 thunar --daemon ├─838 /usr/lib/gvfs/gvfsd ├─845 /usr/lib/gvfs/gvfsd-fuse /home/user/.gvfs -f -o big_writes ├─846 conky -c /home/user/.config/conky/conky.conf ├─848 /usr/lib/x86_64-linux-gnu/xfce4/xfconf/xfconfd ├─863 nm-applet ├─883 xfce4-power-manager ├─887 /usr/lib/x86_64-linux-gnu/xfce4/notifyd/xfce4-notifyd ├─911 tint2 -c /home/user/.config/tint2/lithium.tint2rc ├─957 sh -c jgmenu_run └─958 jgmenu |
これで起動後いつでもVNC接続できるようになりました。
むすび
conkeyをはじめとするハードウェアモニタリング系のツール類がデフォルトで備わっているので、このbunsenlabs lithiumは仮想マシンに入れるより、実機に入れてみる方が楽しそうです。
