rEFIndブートメニューの導入
このままでは常にKubuntuが起動してしまうので、rEFIndブートマネージャを導入します。
command+R を押したまま電源を投入してリカバリモードに入ったら、
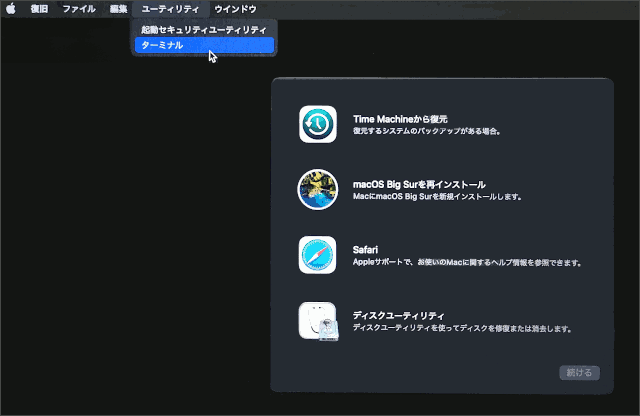
図19.リカバリモード
ターミナルでシステム整合性保護(System Integrity Protection)を無効化します。
|
1 |
$ csrutil disable |
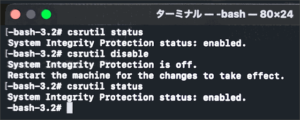
図20.ターミナルでSIP無効化
次に、Optionキー押しながら電源投入してmacOSを立ち上げ、rEFind公式サイトからダウンロードしたZipファイルを解凍して、
|
1 2 3 4 5 6 7 8 9 10 11 12 13 14 15 16 17 18 19 20 21 22 23 |
$ csrutil status System Integrity Protection status: disabled. $ unzip refind-bin-0.13.3.1.zip Archive: refind-bin-0.13.3.1.zip $ cd refind-bin-0.13.3.1/ $ ls -l -rwxrwxrwx 1 user staff 35147 Feb 22 2021 COPYING.txt -rwxrwxrwx 1 user staff 4891 Feb 22 2021 CREDITS.txt -rwxrwxrwx 1 user staff 2204 Feb 22 2021 LICENSE.txt -rwxrwxrwx 1 user staff 114231 Apr 13 2022 NEWS.txt -rwxrwxrwx 1 user staff 4010 Feb 22 2021 README.txt drwxrwxrwx 5 user staff 160 Nov 29 12:38 banners drwxrwxrwx 5 user staff 160 Nov 29 12:38 docs drwxrwxrwx 18 user staff 576 Nov 29 12:38 fonts drwxrwxrwx 25 user staff 800 Nov 29 12:38 keys -rwxrwxrwx 1 user staff 2447 Mar 14 2021 mkrlconf -rwxrwxrwx 1 user staff 2633 Mar 14 2021 mountesp -rwxrwxrwx 1 user staff 10378 Mar 1 2021 mvrefind drwxrwxrwx 13 user staff 416 Nov 29 12:38 refind -rwxrwxrwx 1 user staff 61991 Apr 13 2022 refind-install -rwxrwxrwx 1 user staff 7174 Mar 8 2021 refind-mkdefault |
中にあるインストールスクリプト refind-install を実行します。
|
1 2 3 4 5 6 7 8 9 10 11 12 13 14 15 16 17 |
$ ./refind-install Not running as root; attempting to elevate privileges via sudo.... Password: ShimSource is none Installing rEFInd on macOS.... Executing: /usr/bin/kmutil load -p /System/Library/Extensions/msdosfs.kext Installing rEFInd to the partition mounted at /Volumes/ESP Found suspected Linux partition(s); installing ext4fs driver. Installing driver for ext4 (ext4_x64.efi) Copied rEFInd binary files Copying sample configuration file as refind.conf; edit this file to configure rEFInd. Installation has completed successfully. Unmounting install dir Volume EFI on disk0s1 unmounted |
そしてもう一度同じ要領でリカバリモードに入り、先ほど無効化したSIPを元に戻します。
|
1 |
$ csrutil enable |
これでMacbook Pro起動時にはまず、このブートメニューが出るようになりました。
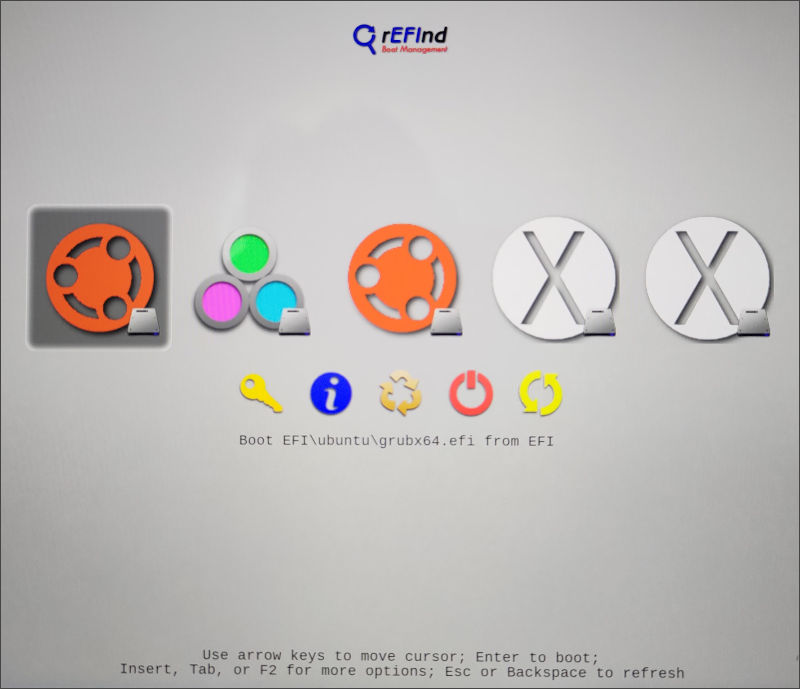
図21.rEFIndブートメニュー標準
さすがにこのデザインはキツいので、皆さんどうされているのだろうと作例を調べ、こちらの記事に沿ってテーマを導入してみることにしました(鳴謝!)。
まず、macOSのターミナルでEFIパーティションをマウントします。
|
1 2 3 4 5 6 7 8 9 10 11 12 13 14 15 16 17 18 19 20 21 22 23 |
$ diskutil list /dev/disk0 (internal, physical): #: TYPE NAME SIZE IDENTIFIER 0: GUID_partition_scheme *500.3 GB disk0 1: EFI EFI 209.7 MB disk0s1 2: Apple_APFS Container disk1 375.3 GB disk0s2 3: Linux Filesystem 124.8 GB disk0s3 /dev/disk1 (synthesized): #: TYPE NAME SIZE IDENTIFIER 0: APFS Container Scheme - +375.3 GB disk1 Physical Store disk0s2 1: APFS Volume Untitled - Data 9.6 GB disk1s1 2: APFS Volume Preboot 337.1 MB disk1s2 3: APFS Volume Recovery 623.1 MB disk1s3 4: APFS Volume VM 1.1 MB disk1s4 5: APFS Volume Untitled 15.3 GB disk1s5 6: APFS Snapshot com.apple.os.update-... 15.3 GB disk1s5s1 $ mkdir ~/Downloads/EFI $ sudo mount -t msdos /dev/disk0s1 ~/Downloads/EFI Executing: /usr/bin/kmutil load -p /System/Library/Extensions/msdosfs.kext $ mount /dev/disk0s1 /dev/disk0s1 on /Users/user/Downloads/EFI (msdos, asynchronous, local, noowners) |
refind フォルダの中にテーマを収める themes と言うフォルダを新規作成し、その中にダウンロードしたテーマを解凍したもの rEFInd-minimal をコピーします。

|
1 2 3 4 5 6 7 8 9 10 11 12 13 14 15 16 17 18 19 20 21 22 23 24 25 26 27 28 29 30 31 32 33 34 35 36 37 38 |
EFI └─refind ├─ BOOT.CSV ├─ refind.conf ├─ refind.conf-sample ├─ refind_x64.efi ├─ drivers_x64 └─ ... ├─ icons └─ ... ├─ icons-backup └─ ... ├─ keys └─ ... ├─ vars └─ ... └─ themes └─ rEFInd-minimal ├─ LICENSE ├─ README.md ├─ background.png ├─ selection_big.png ├─ selection_small.png ├─ theme.conf └─ icons ├─ func_exit.png ├─ func_reset.png ├─ func_shutdown.png ├─ os_antergos.png ├─ os_antergos_thin.png ├─ os_apricity.png ├─ os_arch.png ├─ os_debian.png : : ├─ os_win.png ├─ os_win8.png └─ os_xubuntu.png |
そしてrEFIndの設定ファイル refind.conf の末尾に、コピーしたテーマへの相対パスを記述すれば、導入作業は完了です。
|
1 |
include themes/rEFInd-minimal/theme.conf |
再起動すると、シンプルなテーマが適用されたrEFIndブートメニューが現れます。
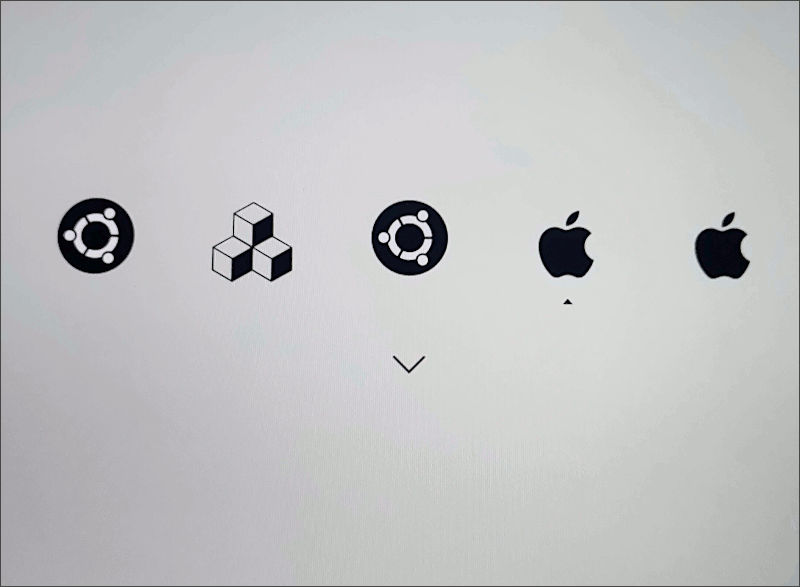
図22.rEFIndブートメニューテーマ適用
なお、比較的大きめなシステム更新の適用後は、rEFIndが無効になってしまうことがあるので、その際には慌てず再インストールすれば良いのだそう。
Retinaディスプレイの表示スケール
高解像度なRetinaディスプレイのデフォルトでは老眼にはかなり厳しい細かさ。

図23.デフォルト等倍表示
GNOME系では100% 200%と大雑把にしか設定できなかった表示スケールが(Ubuntu 22.04でようやくFractional Scalingが試験実装)、KDEではシステム設定の中にあるディスプレイ設定で、Windows 10と同じように変更することができます。
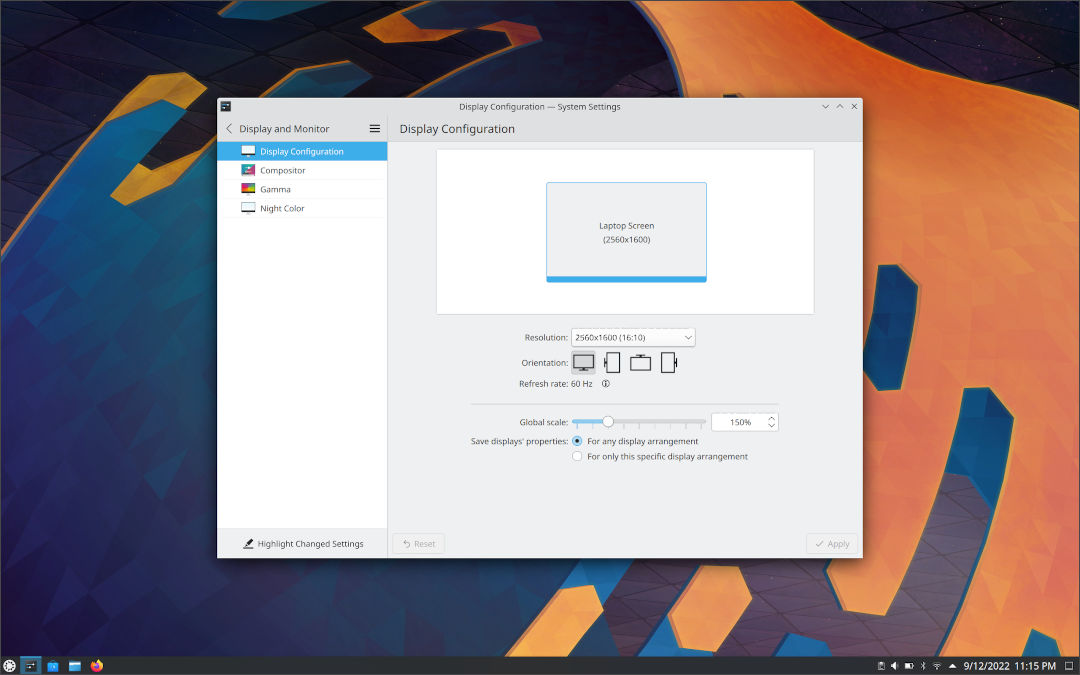
図24.150%スケール表示
150%は少し大きすぎに感じられたので、125%スケールに落ち着きました。
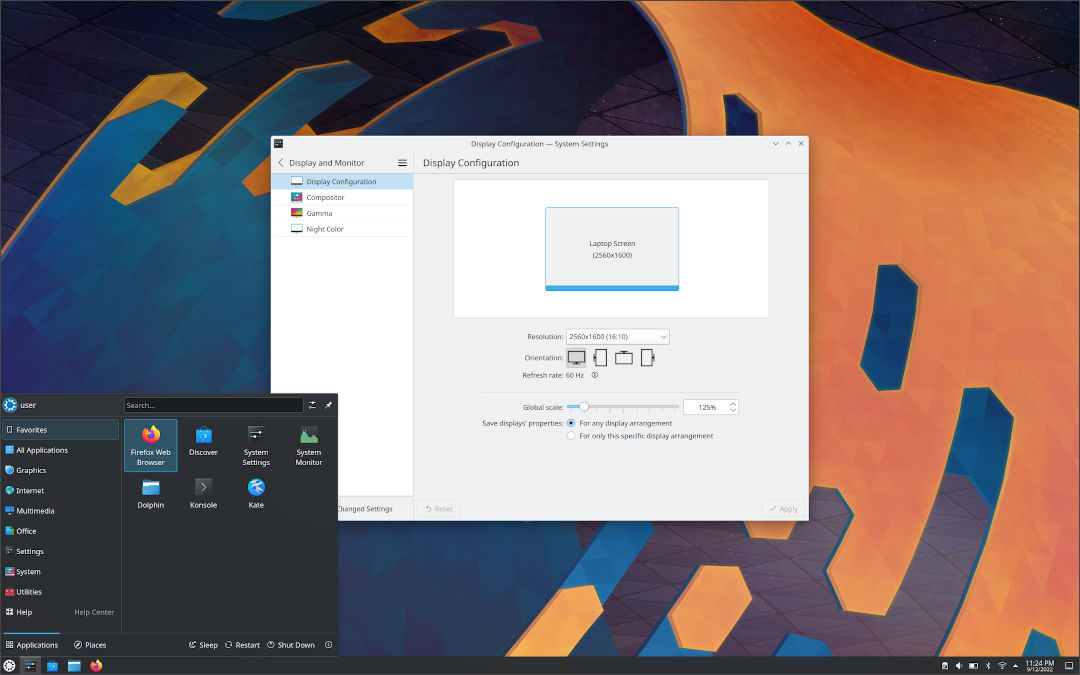
図25.125%スケール表示
